 If you are looking for a fun practical activity for your kids to do, consider this kids tie dye activity. It’s fun and easy to do. It is also a great way to design your own clothes that are stylish and unique.
Tie Dye Activity Materials
- Tie dye activity kit (If you have one)
- T-Shirts/other clothing items
- Rubber bands
- Gloves
- Mask (*optional, some dyes have undesirable fumes, you can also do this craft outside where it is well ventilated)
- Buckets (You will need to premix each of your dyes in a bucket so that you can dip them separately)
 Tie Dye Directions and Tips

Prewash or soak the shirts/other articles of clothing in water. Follow the directions on the dye you are using to make the mixtures in the buckets. Next twist/fold and tie the garment. Separate the rubber bands so you can create different patterns on the fabric. If you want swirls, twist and tie the rubber bands tightly. Tip: Dip in the lighter colors first and then move onto the darker colors. Next let the garment sit overnight in plastic bags, rinse it, untie it, and then wash the garment with detergent.
Tie Dye Activity Key Takeaways

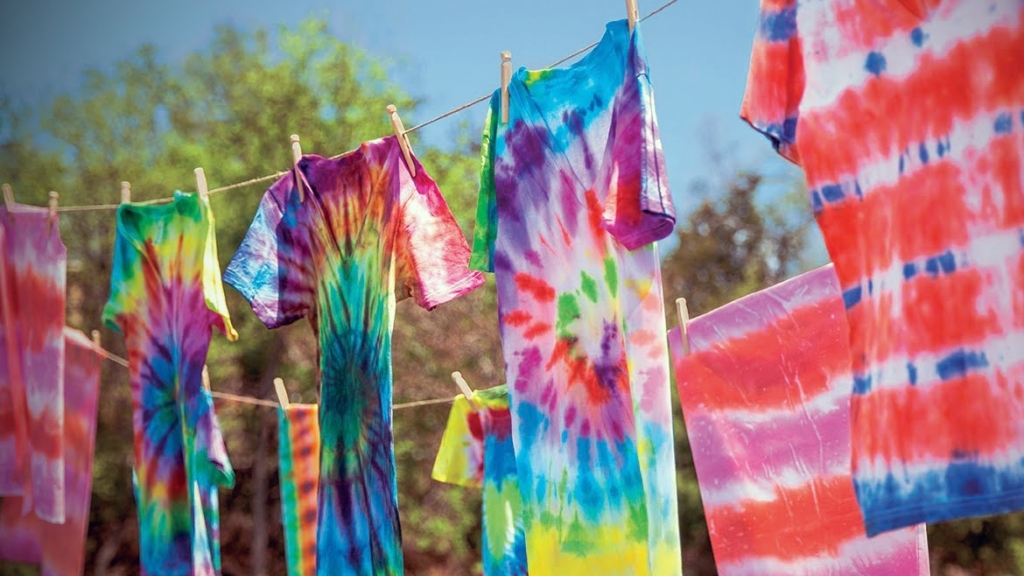
When we created the T-shirts pictured. I allowed my children to help by letting them assist me gathering the supplies, holding the rubber bands, and by guiding their hands while they dipped, but I didn’t allow
them to place the garments too far into the dye mixture because I didn’t want it to muddy the fabric. They really enjoyed this kids tie dye activity and loved seeing the results of their t-shirts. This is also a great activity that fosters creativity and design. It also helped my children increase their listening skills because they had to listen and follow directions correctly in order for this project to work.